I really, really love this Katydid dress pattern from Rachel at ImagineGnats. There are so many possibilities! As I mentioned in my previous post, the first thing I decided to do was to add cap sleeves. As if it wasn’t already cute enough! Cap sleeves are just about the easiest little “hack”, even for a beginner. And just look how cute they are:

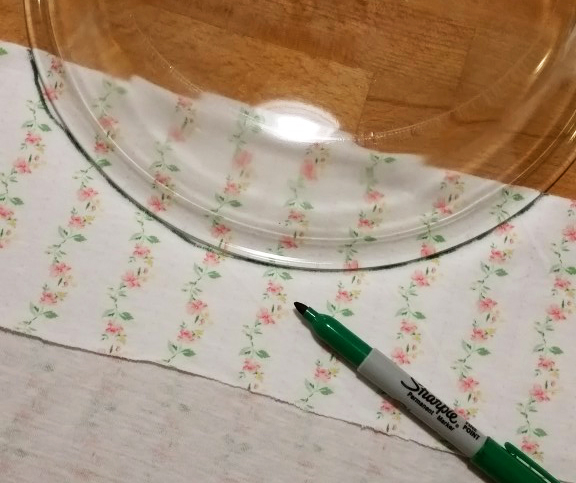
For this tutorial you’ll need a 12-ish inch plate, a marking pen or pencil, fabric, a sewing machine, and thread. (The Katydid pattern also makes liberal use of a serger. If you don’t have one, a machine that can do zig-zag stitch will suffice.)
1. Start by downloading the Katydid dress pattern, taping it together and cutting out the size you need (I made a size 2 for Erica). These instructions take the place of instruction #3 in the Katydid pattern. Sew the pattern through instruction #2. Then follow below –
2. Lay out your fabric on your cutting surface and fold over a piece on the straight grain; give yourself at least 4 inches to work with. Lay your dish (I used a 12-inch pie plate) so that it overlaps your fabric about 3 inches and trace the edge with your pen. Repeat, or use the piece you just made to make an identical oval. (2 sleeves = 2 ovals)
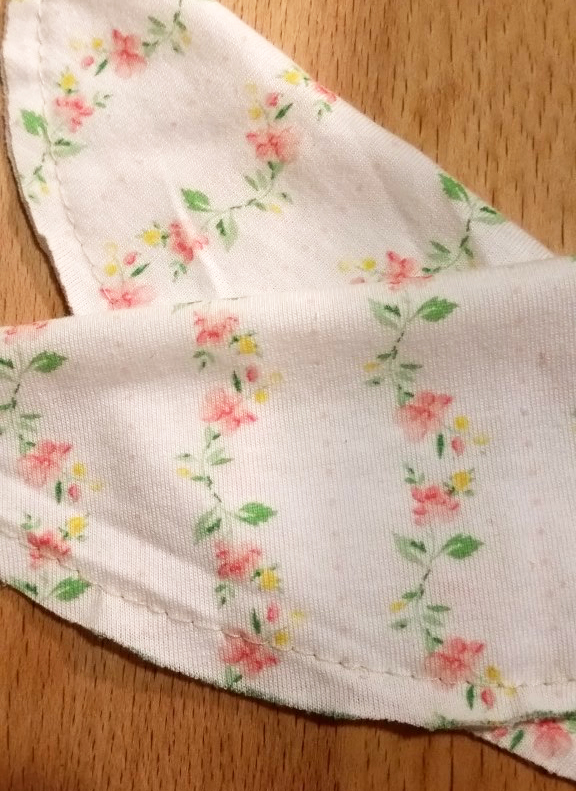
3. Keep your ovals folded in half, long ways and with wrong sides together, sew a 1/4 inch gathering stitch along the outside (raw) edge. (If you don’t know what I mean by “gathering stitch”, just loosen your top thread tension all the way and make sure you leave long thread tails at the beginning and end for pulling).
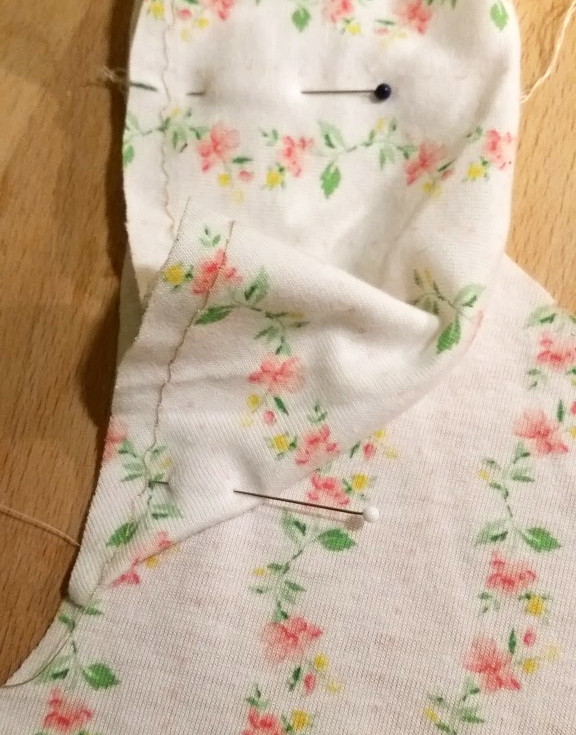
4. With your pen, mark the center of the sleeve just at the raw edge. Pin the center mark of the cap sleeve to the shoulder seam on the arm scythe of the lining, right sides together. Pin the ends of the cap sleeve to just before the arm scythe starts to curve (for the arm pit), front and back.
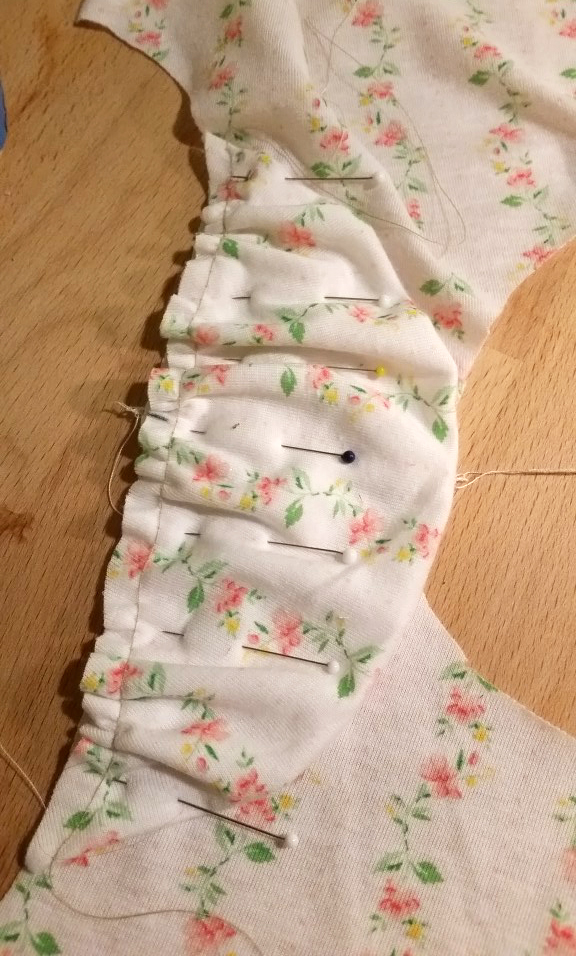
5. Now, gather! (Pull one of your gathering threads – usually the looser one works best – until the edges of the cap sleeve and lining match up. Distribute the gathers evenly and pin. Repeat steps 4 and 5 for the other sleeve.
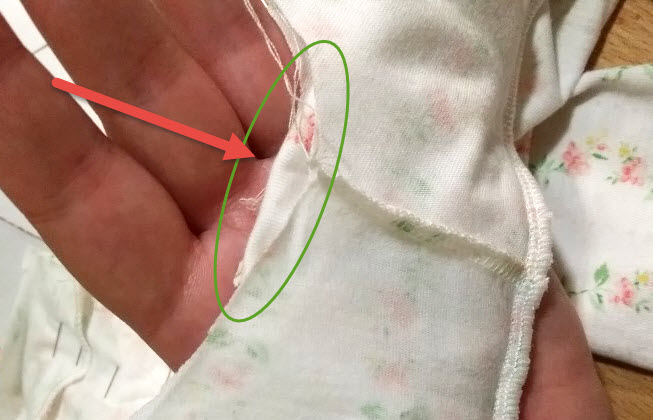
6. At this point, you can baste your cap sleeve to the lining or simply pin the outer layer of the dress on top (right sides together) and serge around the arm scythes. If you are leaving pins in and serging, make sure you pin way back from the outer edge! I don’t know about your serger, but mine eats pins for breakfast and they don’t agree with it!
Once the edges are serged, you can take out the pins. Before you continue on with serging the neckline, be sure to tuck that sleeve way back in between the two layers so you don’t catch it in the seem!
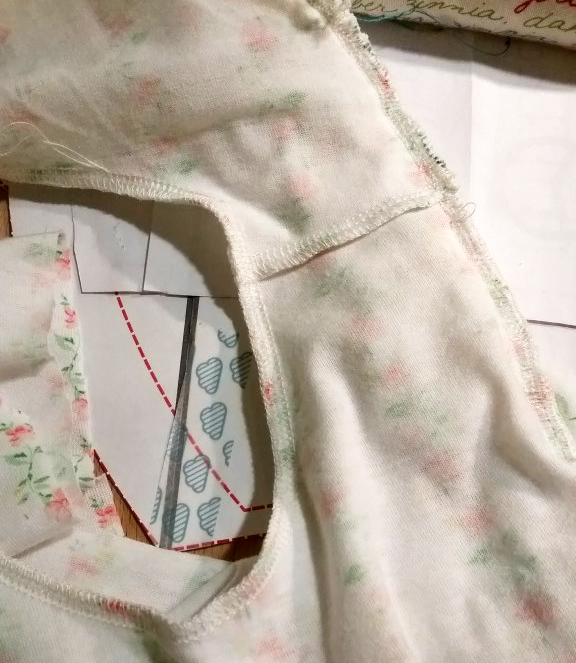
7. Serge the neckline so the cap sleeve is fully tucked away on the inside of the dress.
8. Continue with Katydid pattern instruction #4 and complete the dress!
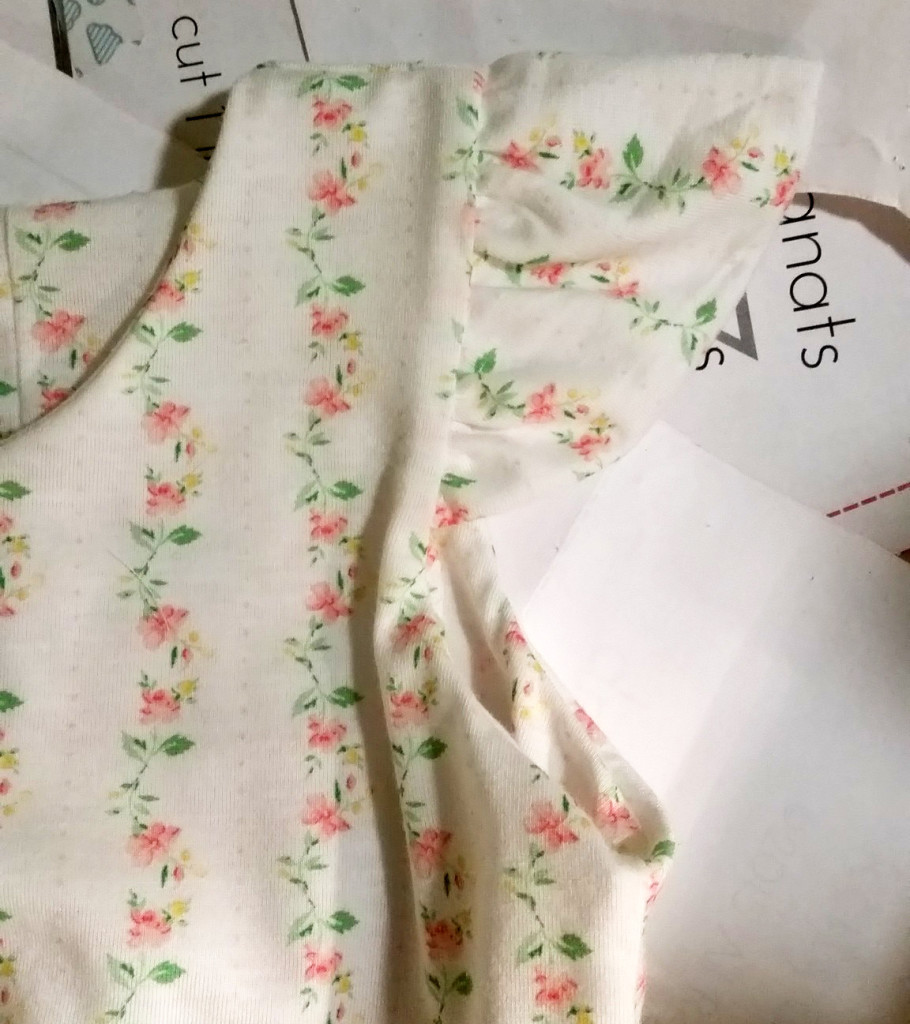
I might be biased, but I think it’s pretty darned adorable.